Alcohol Ink Clip Art: A Practical Guide to High-Resolution Design Assets
The allure of fluid art lies in its unpredictability. Swirls of vibrant pigment dancing across a surface create organic, one-of-a-kind textures that are difficult to replicate digitally. This is precisely why Alcohol Ink Clip Art has become an indispensable resource for modern designers, entrepreneurs, and creative hobbyists. Whether you are crafting wedding invitations, designing brand identities, or creating social media content, these assets offer the sophistication of hand-painted watercolor without the mess or the learning curve.
However, not all digital assets are created equal. Many creators rush into downloading low-quality files, only to find their final designs look pixelated or amateurish. Understanding the technical specifications and proper application of these tools is crucial for achieving professional results. By avoiding common pitfalls, you can leverage high-resolution resources to elevate your visual communication effectively.
Understanding the Value of High-Resolution Transparent PNGs
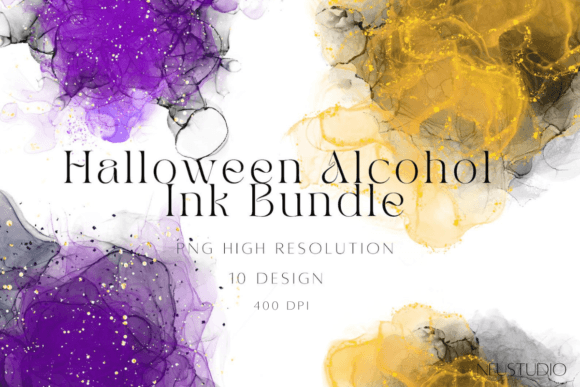
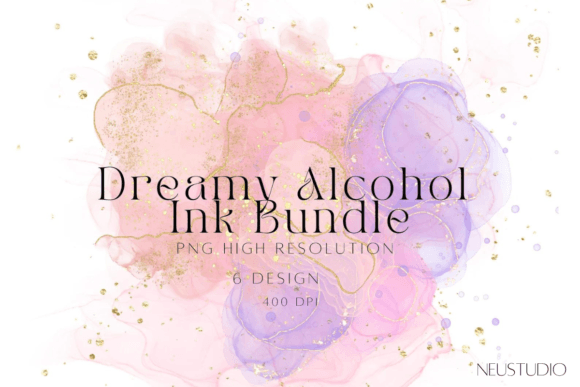
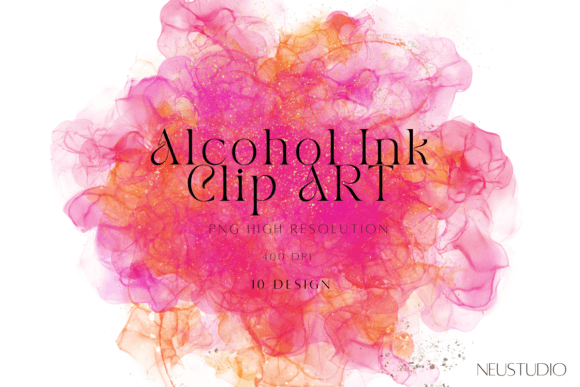
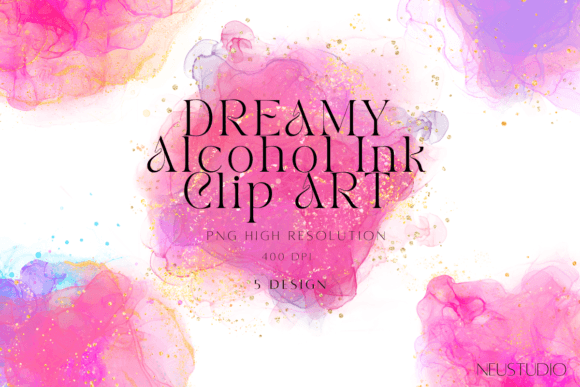
At first glance, a splash of color might seem simple. But when you integrate these elements into complex layouts, quality matters immensely. The term "clip art" often conjures images of low-resolution, cartoonish graphics from the early internet era. Modern Alcohol Ink Watercolor PNG Clip Art is vastly different. These are high-fidelity digital scans or creations that preserve the delicate nuances of the medium.
The most critical feature to look for is the transparent background. A true PNG with transparency allows you to layer the ink splashes over text, photos, or colored backgrounds seamlessly. Without this, you are stuck with awkward white boxes around your design elements, limiting your creative freedom. Furthermore, resolution dictates scalability. Files rated at 400 dpi (dots per inch) with dimensions like 8000 x 8000 pixels provide the flexibility needed for both digital screens and large-format printing.
Common Mistakes When Selecting Digital Ink Assets
Even experienced designers can overlook key details when sourcing materials. Here are the most frequent errors that compromise design quality, along with strategies to avoid them.
Ignoring DPI and Pixel Dimensions
A common misconception is that if an image looks good on a computer screen, it will print well. This is rarely true. Screen resolution typically sits at 72 or 96 dpi, while professional printing requires 300 dpi or higher. If you download a file that is only 1000 x 1000 pixels, it may appear sharp on Instagram but will look blurry and pixelated when printed on a wedding invitation or business card.
The Fix: Always verify the technical specs before downloading. Look for files explicitly labeled as high resolution, such as 400 dpi. An 8000 x 8000 pixel file gives you the headroom to scale the image down for a digital sticker or up for a poster without losing clarity. This versatility ensures you get maximum value from a single purchase.
Overlooking Edge Quality and Halos
Not all transparent PNGs are cut cleanly. Poorly processed clip art often retains a faint white or gray "halo" around the edges of the ink splash. This artifact occurs when the background removal process is automated or rushed. When placed over a dark background, these halos become glaringly obvious, breaking the illusion of a seamless blend.
The Fix: Zoom in to 100% or 200% when previewing assets. Check the edges against a contrasting background. High-quality Alcohol Ink Clipart should have soft, natural transitions where the pigment fades out, with no hard lines or residual pixels. If you already own files with halos, you can sometimes fix them using blending modes in software like Photoshop, but starting with clean assets saves significant editing time.
Misunderstanding Color Profiles
Digital screens use RGB (Red, Green, Blue) color profiles, while printers use CMYK (Cyan, Magenta, Yellow, Key/Black). Alcohol inks are known for their neon-bright and metallic tones, which are notoriously difficult to reproduce in print. If you design a vibrant logo on screen using RGB files and send it to print without conversion, the colors may appear dull or muddy.
The Fix: Be aware of your end goal. For web design, social media, and digital stickers, RGB files are perfect. For physical products like greeting cards or branding materials, check if the provider offers CMYK-compatible files or be prepared to adjust saturation and contrast during the pre-print phase. Testing a small print run before committing to a large order is always wise.
Strategic Applications for Creative Projects
Once you have secured high-quality assets, the next step is application. The versatility of Alcohol Ink Watercolor PNG Clip Art allows for diverse uses across industries.
- Typography and Quotes: These backgrounds are perfect for text applications. The organic flow of the ink provides a dynamic backdrop that draws the eye without overwhelming the message. Use lighter areas of the splash for text placement to ensure readability.
- Branding and Logos: Small businesses often seek unique identities. Incorporating abstract ink elements into logos can convey creativity and fluidity. However, use them sparingly. A subtle accent is more professional than a chaotic overlay.
- Wedding and Event Stationery: From save-the-dates to menu cards, watercolor textures add a touch of elegance. The transparent nature of PNGs allows you to layer multiple splashes to create custom borders or corner accents.
- Digital Products: Creators selling digital planners or stickers can use these elements to add depth and texture. They are particularly effective for creating realistic-looking washi tape or journal embellishments.
Best Practices for Layering and Composition
To create truly original artwork, you must move beyond simply dropping a clip art file onto a canvas. The power of these assets lies in combination. Here is how to approach composition professionally.
Layering for Depth: Do not rely on a single element. Combine multiple Alcohol Ink Clip Art pieces to build complexity. Place a large, light wash as a base, then add smaller, more saturated splashes on top. Adjust the opacity of each layer to create a sense of depth and movement. This technique mimics the natural buildup of pigment in traditional alcohol ink painting.
Color Harmony: While it is tempting to use every color in the pack, restraint yields better results. Stick to a cohesive palette that aligns with your brand or project theme. If you are designing a calming spa brochure, stick to blues and greens. For a energetic sale flyer, oranges and reds may be more appropriate. Use color theory principles to guide your selection.
Balance with White Space: Alcohol ink is visually loud. To prevent your design from feeling cluttered, allow for ample white space. Let the ink breathe. If you are creating a business card, ensure the contact information is not competing with the background. The art should support the content, not distract from it.
Final Checks Before Finalizing Your Design
Before you export or send your project to print, perform a final audit. Check the alignment of your text against the ink patterns. Ensure there are no stray pixels or unintended overlaps. If you are working for a client, confirm that the license terms of the clip art allow for commercial use. Most high-quality packs include commercial licenses, but it is always safer to read the fine print.
By choosing high-resolution, transparent PNGs and applying them with intention, you transform simple digital files into powerful design elements. Alcohol Ink Clip Art is more than just a trend; it is a versatile tool that bridges the gap between traditional artistry and digital efficiency. Avoid the shortcuts, respect the technical requirements, and let your creativity flow with confidence.